How Much Does it Cost to Taxidermy a Fish? Pricing Guide
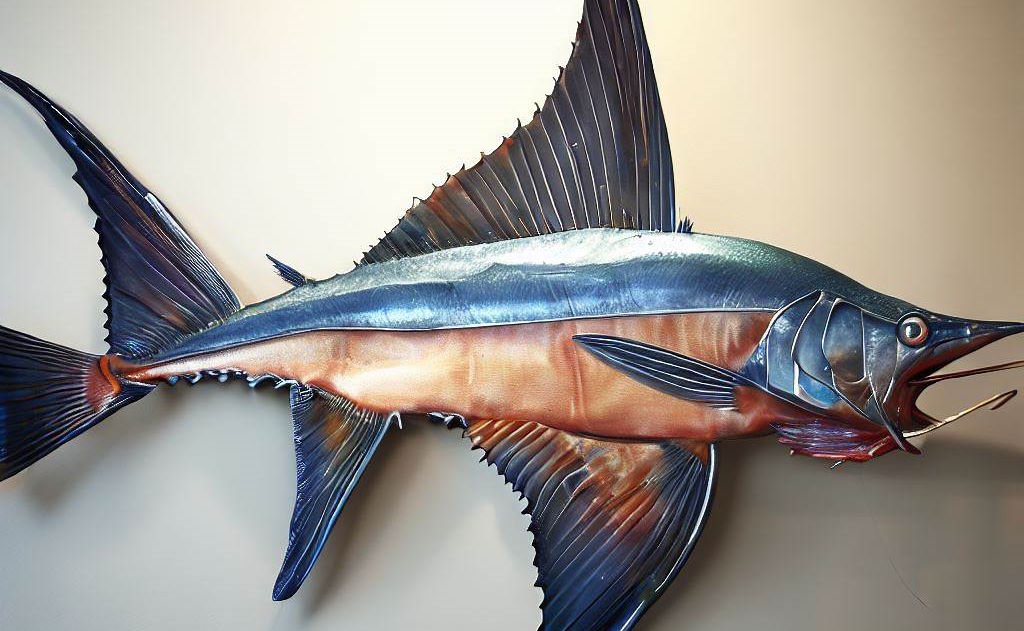
How much does it cost to taxidermy a fish? Let’s take a look. Taxidermy is the process of preserving an animal’s body through mounting or stuffing. It is a popular way of keeping a record of a memorable hunting trip or a prized catch. However, many people are unaware of the cost of taxidermy and […]
How Much Does it Cost to Taxidermy a Fish? Pricing Guide Read More »