
Imagine you are standing in the heart of nature, surrounded by lush greenery and the soothing sounds of birds chirping. In this serene setting, you come across a majestic duck, its vibrant feathers shimmering in the sunlight.
Now, picture yourself wanting to capture this moment forever, to preserve the beauty of this creature in all its glory. That’s where duck taxidermy comes in. With this ancient art form, you can bring that moment to life, creating a lifelike representation of the duck that will stand the test of time.
In this article, we will guide you through the fascinating world of duck taxidermy, from understanding the anatomy of a duck to the techniques used for mounting and painting. Whether you’re a seasoned taxidermist or brand new to the craft, we’ll provide you with the knowledge and tips you need to create stunning, lifelike results.
So, let’s dive into the world of duck taxidermy and unleash your creative freedom.
Understanding the Anatomy of a Duck
Now that you’ve familiarized yourself with the basics, let’s dive deeper into the intricate anatomy of a duck and explore its fascinating skeletal structure.
Ducks possess a unique skeletal system that allows them to effortlessly glide through the water and soar through the sky. Their lightweight bones are specifically designed to minimize weight while maintaining strength, enabling them to navigate their environment with ease.
The wings of a duck are connected to their skeleton, providing support and allowing them to fly gracefully. Additionally, their long and flexible necks are composed of numerous vertebrae, enabling them to reach underwater food sources and perform impressive maneuvers.
Understanding the anatomy of a duck not only enhances our appreciation for these magnificent creatures but also allows us to better understand their capabilities and adaptability in their natural habitat.
Preparing the Duck for Taxidermy
First, let’s get our feathered friend ready for taxidermy. Start by carefully removing any excess feathers and debris from the duck’s body.
Gently clean its feathers with a soft brush, making sure to remove any dirt or dust.
Next, inspect the duck for any cuts or tears in its skin. If you find any, use a small needle and thread to carefully stitch them up, ensuring the duck’s skin is intact.
Once the duck is clean and repaired, it’s time to position it in a lifelike pose. Use wires or foam to support the body and wings, allowing the duck to retain its natural shape.
Remember, the goal is to capture the essence and freedom of this magnificent creature in its final preserved form.
Mounting Techniques for Lifelike Results
To achieve lifelike results in mounting, you’ll need to employ various techniques that capture the essence and freedom of the magnificent creature being preserved.
The first step is to carefully position the duck’s body in a natural and dynamic pose. Bend the legs and wings to mimic the movements of a living duck. Use wire or foam to provide support and maintain the desired position.
Next, use high-quality glass eyes that accurately reflect the duck’s natural gaze. Pay attention to the intricate details like the shape and color of the beak, which can be recreated using epoxy clay or other materials.
Finally, meticulously feather the bird by gluing each individual feather back into place. This process requires patience and precision to ensure the final result is a lifelike representation of the duck’s beauty and freedom.
Painting and Finishing the Duck
Get ready to bring your duck mount to life by adding the final touches of paint and finishing touches for a stunning and realistic result.
This is where you can really let your creativity shine! Start by choosing colors that accurately represent the duck’s species and natural markings. Use a small brush to carefully apply the paint, blending the colors to create a seamless transition.
Don’t be afraid to add subtle details like feather textures and highlights to make your mount truly lifelike.
Once the paint is dry, it’s time to apply a protective finish. Choose a matte or glossy sealant to give your mount a professional and polished look. Apply the finish evenly, making sure to cover every inch of the duck.
With the painting and finishing complete, step back and admire your masterpiece! Your duck mount is now ready to be displayed with pride.
Let your imagination run wild and enjoy the freedom of creating a stunning and realistic duck mount.
Display and Preservation Tips
Once you’ve transformed your duck mount into a lifelike masterpiece, it’s time to explore creative ways to showcase and preserve your unique creation.
You want to display your duck in a way that truly captures its natural beauty and adds a touch of personality to your space. One option is to mount it on a custom-designed wooden base or driftwood, allowing it to stand proudly on a shelf or mantelpiece.
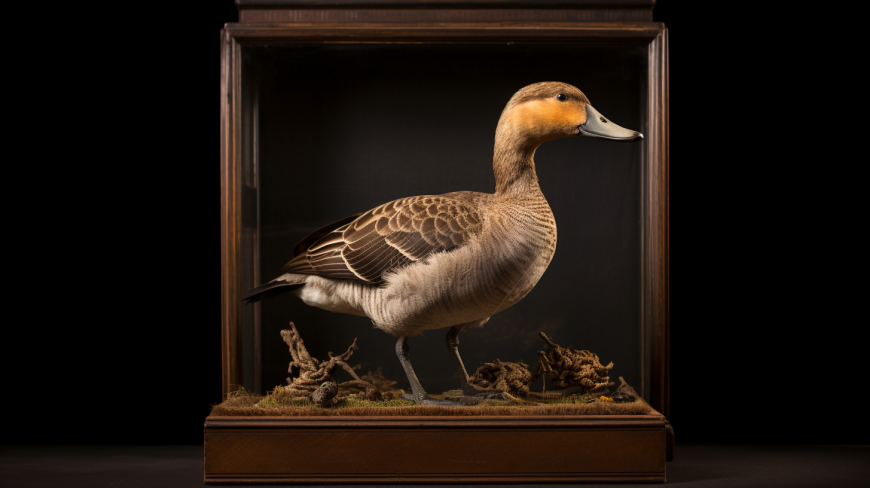
Another idea is to create a diorama, using a glass case or shadow box to create a realistic scene for your duck to inhabit.
To preserve your duck’s feathers and prevent dust buildup, consider using a glass cover or a clear display case. Remember to periodically clean your duck mount to maintain its vibrant appearance.
With these display and preservation tips, you can proudly showcase your duck taxidermy for years to come.
Frequently Asked Questions
How much does it cost to have a duck taxidermied?
The cost of having a duck taxidermied varies depending on factors such as size, complexity, and the taxidermist you choose. It’s best to contact local taxidermists for specific pricing information.
Are there any legal restrictions or permits required for duck taxidermy?
You have the freedom to pursue your passion for duck taxidermy without any legal restrictions or permits. Embrace the art of preserving nature’s beauty and create stunning displays that captivate and inspire.
Can I choose any pose for my duck mount?
Yes, you have the freedom to choose any pose for your duck mount. The decision is entirely up to you and what you want for your trophy. Enjoy the flexibility and creativity!
Can I use a real duck for taxidermy or do I need a replica?
Sure, you can totally use a real duck for taxidermy. Just make sure to catch one, kill it, and stuff it yourself. Who needs replicas when you can have the real deal?
How long does the taxidermy process typically take?
The taxidermy process typically takes several weeks to several months, depending on the complexity of the project and the availability of materials. It’s important to be patient and allow the taxidermist enough time to create a quality piece.
Conclusion
So there you have it! Now you know the basics of duck taxidermy. Don’t let the thought of manipulating and preserving a duck scare you away. With a little practice and patience, you can create lifelike and stunning results.
And if you’re worried about the ethical implications of taxidermy, keep in mind that many taxidermists use animals that have died of natural causes or are ethically sourced.
In the end, duck taxidermy can be a rewarding and artistic way to appreciate and preserve the beauty of these magnificent birds. Give it a try and see for yourself!